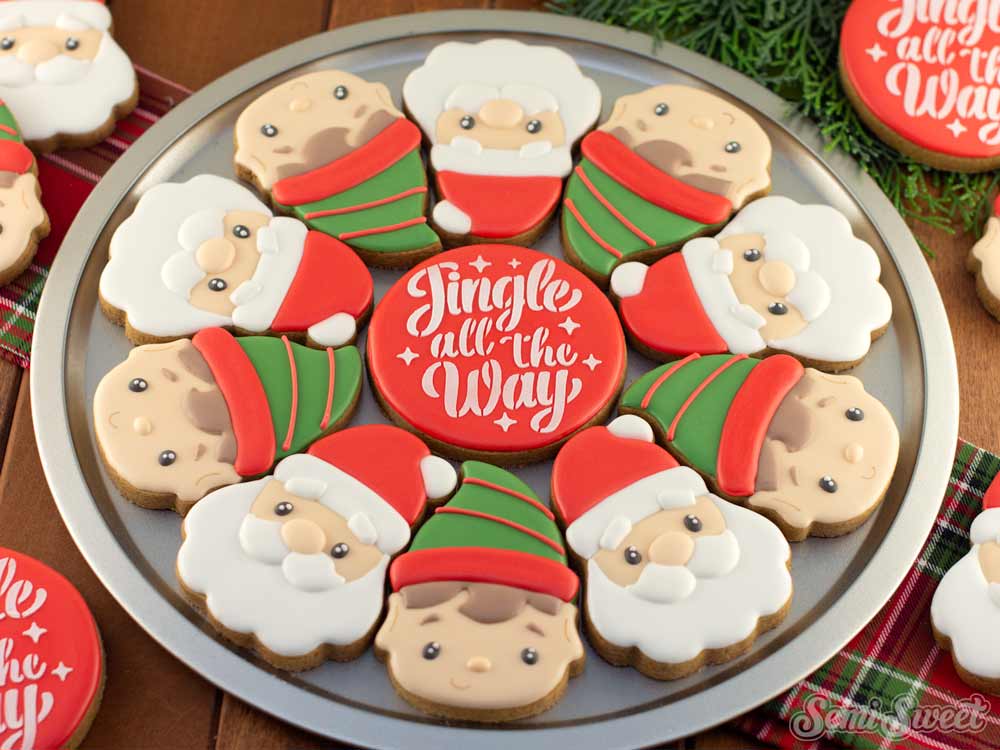
How to Make Santa Claus Cookies

My Essential Baking Tools for Royal Icing
Essential Decorating Tools for Royal Icing
It's crazy that Christmas is only 12 more shopping days away! I know it's already crunch time for us cookie decorators, however I was hoping to squeeze in one more tutorial before I head out for the Christmas break.
Since releasing the latest Christmas cutter collection, I've received a number of requests for a tutorial for the Santa Claus cookies. I do try to accommodate requests if I can, and this past weekend I was happy to find the time to decorate some more Santas.
Santa Claus and Reindeer Cookie Cutters
I just added a new cookie cutter design to the shop! Because I thought the Santa Claus cookies needed a little something "extra" for this batch, I decided to whip up a new reindeer cookie design to include with Santa.

The reindeer cookie cutters, like Santa, are also available in a full-body version, as well as a head-only version. I know it may be too late in the season to pick up more Christmas cookie cutters, but it's never too late to plan ahead for next year.
Template for the Santa Claus Cookies
To help with the decorating process, I made a PDF template available for Santa and Reindeer cookie designs shown. Also, there’s a separate second template for the head-only designs.
You can download the FULL-BODY cookie templates HERE.
You can download the HEAD-ONLY cookie templates HERE.
You can download the REINDEER cookie templates HERE.
If you have a Kopykake or Pico projector, just print it out (or pull it up on your mobile device) and you are good to go. For those without a projector, follow the suggested steps below by tracing the design onto the cookie with an edible food marker.
The Decorating Process
For these Santa Claus Cookies, you will need the following suggested colors:
- Flesh Color royal icing (I mixed a Americolor Copper and Americolor Ivory.)
- Holiday Red piping and flood icing. (I used Americolor Tulip Red.)
- Yellow piping icing ( used Americolor Egg Yellow.)
- White icing (I used Americolor Bright White.)
- Black icing (I used Americolor Super Black.)
Step 1
For those without a projector, begin by making a guideline for where the face and suit sections should be. I made a template with template plastic from the PDF file above and used a food marker to draw the guideline on the cookie.

Step 2
Using the marker line as a guide, outline and then flood alternating sections. I began with the face and the red suit sections first. I let those sections set up for about 20 minutes, then moved on to the arms, the boots, and white suit sections.
Let these sections dry for about an hour before moving on.

Step 3
Next, fill in the beard area. Then add a belt band and the toes with black icing. Be sure to act quickly and add the white highlight mark on the toes.
Add the remaining ball of the cap with white icing. Once the beard section had time to set, add the eyebrows, and one side of the mustache.

Step 4
Then add the eyes, the belt buckle, and the other side of the mustache.
Finally, add the nose and the outline details on the hat and boots.

Video Tutorial
The steps above are summarized in the time-lapsed video below.
Here are the finished Santa Claus cookies with his buddy, Rudolph the red-nosed reindeer.

As mentioned above, you can find both the reindeer body cookie cutter and the head-only version in my shop.

I hope you enjoyed this Christmas tutorial. It might be my last before the holiday break. However, I’ll be gearing up for more decorating and unique cookie ideas to share in the new year.
One last reminder: The shop will be closed (Mon. Dec 18 thru Tues. Dec. 26th) for the Christmas break. If you would like to make a shop purchase, please do so by this Sunday, Dec. 17, to ensure it will be processed in time.
Thank you! Happy Holidays!
Add Vibrant Colors with Americolor Food Coloring

To make your decorated cookies pop, use Americolor Food Coloring for bold, consistent colors. It’s my go-to brand for achieving vibrant shades without altering the consistency of the royal icing.
Buy Now


