How to Stencil on Cookies

My Essential Baking Tools for Royal Icing
Essential Decorating Tools for Royal Icing
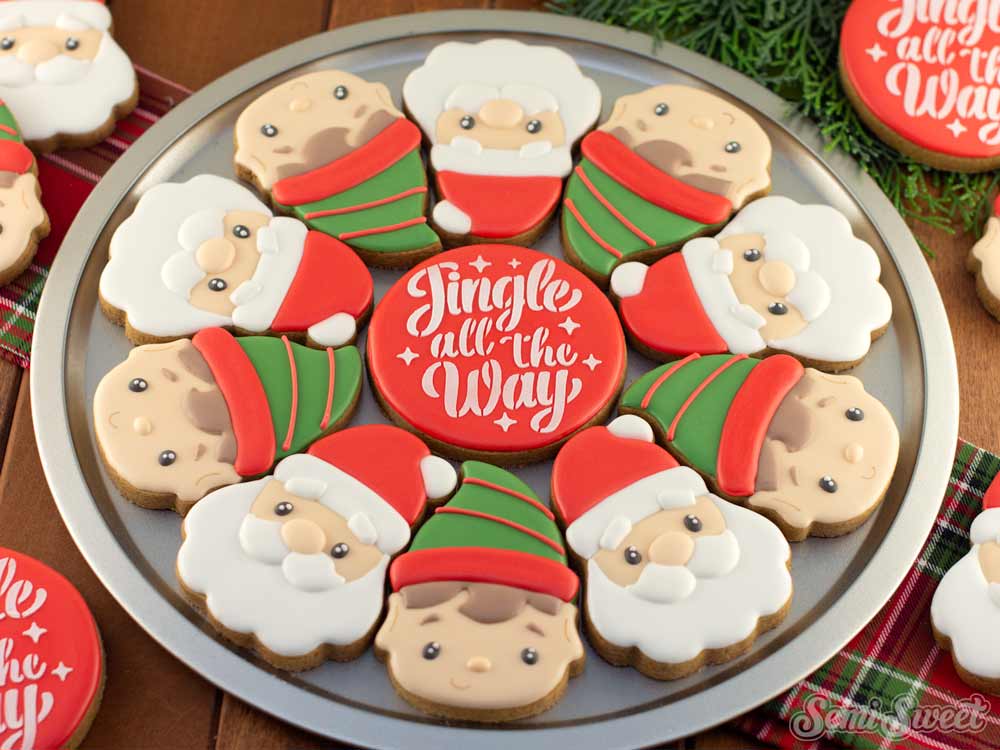
Stenciling on cookies is an easy way to add instant flair to a cookie in the quickest amount of time.
For today's post, I wanted to take a quick moment to go over a few techniques on how exactly I like to apply stencil designs on cookies.
Using stencils is pretty intuitive, so I'll keep this blog post short. I just wanted to share a few tips I learned along the way. Additionally, because it's probably easier to show than to tell you in words, I made two quick videos of the two methods I use most often. I summarized the two techniques below.
Airbrushing with Stencils on Cookies

I remember when I first got my airbrush machine it was left unopened in the box for months. I was so intimidated by it, but I shouldn't have been! Airbrushing is surprising forgiving if you follow the steps below.
Items Used
- Airbrush Machine (I have a discontinued Pegasus brand, but this Cake Boss machine looks to be the equivalent.)
- Bat Magic Stencil
- Electric Purple Airbrush Color
- White Jewel Dust
- Dust Pump
- Stencil Genie
Airbrushing Tips
- Low and Slow
- I get nice results if I have the airbrush machine on its lowest setting and I hover the gun about 2 inches above the cookie.
- Keep the Gun Pointed Perpendicular
- To avoid getting any underspray (spray under the edges of the stencil), position the gun nozzle at a right angle to the cookie. Keeping it upright should get you sharp, clean lines of color.
- Use Multiple Thin Coats
- It's better to apply many LIGHT, even coats of airbrush color rather than a heavy single coat.
Airbrushing with Cookie Stencils Video
Using Royal Icing with Stencils on Cookies

Applying a thin layer of royal icing over a stencil can give a cookie dimension and texture. I like to use this method if I want the stencil pattern to be the focus and stand out from the rest of the cookie.
Items Used
- Small Spatula (Any small kind will do.)
- Plastic Scraper (I love these from Innovative Sugarworks.)
- Hocus Pocus Stencil
- White Jewel Dust
- Dust Pump
- Stencil Genie
Royal Icing Tips
- Thick Consistency is Key
- For a clean image, the royal icing has to be thicker than piping consistency. I like to compare it to buttercream consistency.
- Use a Wide Scraper
- I found I get a nice, even layer of icing across the stencil design if my plastic scraper is the as wide as the design. I would get streak lines if I used a narrow scraper.
- Vertical Lift Off
- For the best results, try to lift the stencil off the cookie straight up. An angled lift off could damage the design.
Stenciling with Royal Icing Video
Well I think that should cover it. I really hope this helps in some way. If I forgot and left off any other important tips I'll be sure to update this post and add them to the list.
For more stencil-on-cookies examples, you can check out the following posts below:
Add Vibrant Colors with Americolor Food Coloring

To make your decorated cookies pop, use Americolor Food Coloring for bold, consistent colors. It’s my go-to brand for achieving vibrant shades without altering the consistency of the royal icing.
Buy Now


