How to Make School Supply Cookies


My Essential Cookie Tools for Cookie Decorating


My Essential Cookie Tools for Baking Cookies


My Essential Baking Tools for Royal Icing


Essential Decorating Tools for Royal Icing

As a kid, one of the few things I used to look forward to at the end of summer was getting brand new school supplies.
Quick story.
I remember being very particular on the type of pen I had to use. In fact, I still am. My pens had to be a Paper Mate medium-point ballpoint pen. If it had a rubberized barrel grip, even better! There's just something about the way a medium point's ink flows onto paper that soothes the soul (my soul, mostly).
I think that particularity carried over into my cookie decorating. Instead of ballpoint pens, it's icing tips. I can't pipe anything without my PMEs.
Anyway, speaking of school supplies, I made these school supply cookies! No ballpoint pens in this bunch, as they are gear toward a younger crowd. However, they're still a lot of fun to make and something I could also easily obsess over. :)
School Supplies Cookie Cutter
Added to the shop are six new back-to-school themed cookie cutters, including this school supplies cookie cutter.

The school supplies cookie cutter fits perfectly between the two banner cookies. The banner is an existing cookie cutter sold with this fall set.
Each cookie cutter is made to fit perfectly in my favorite 7″ x 4.5″ BRP Box when grouped together as a 3-piece gift set.
Template for the School Supply Cookies
To help with the decorating process, I made a PDF template available for all the back-to-school supply designs shown.
You can download the 2018 back-to-school supply cookie templates HERE.
If you have a Kopykake or Pico projector, just print it out (or pull it up on your mobile device) and you are good to go. For those without a projector, follow the suggested steps below by tracing the design onto the cookie with an edible food marker.
The Decorating Process
For the colors used for these school supply cookies, you will need the following suggested colors:
- Yellow royal icing. (I mixed Americolor Egg Yellow with a touch of Americolor Orange.)
- Blue icing (I mixed equal parts of Americolor Sky Blue and Americolor Royal Blue.)
- Tan icing. (I mixed a touch of Americolor Copper and Americolor Ivory. A little coloring goes a long way.)
- Red icing (I used Americolor Tulip Red.)
- Black icing (I used Americolor Super Black.)
And, just for reference, here's the color for the banner:
- Green Chalkboard icing (I mixed Americolor Forest Green and Americolor Leaf Green.)
Step 1
For those without a projector, mark guidelines where the different sections should be, as shown. I made a template with template plastic from the PDF file above and used a food marker to draw the guidelines on the cookie.

Step 2
Begin by filling in alternating sections. I started by outlining and filling the pencil body and the crayon sections.
Let the icing set for 20 minutes, then move on to filling in the ruler section. Let the icing dry for about an hour.

Step 3
Once the base layer had time to set, add the top of the pencil detail and the black swiggle (or is it squiggle?) line on the crayon.
Finish up the cookies by adding the smiling faces and the final outline details, as shown below.
To get the small thin lines of the smiles and eyebrows, I used a #1 PME tip and applied light pressure. For the ruler measurement lines, I drew in the lines using a food marker.

Video Tutorial
The steps above are demonstrated in the time-lapsed video below.
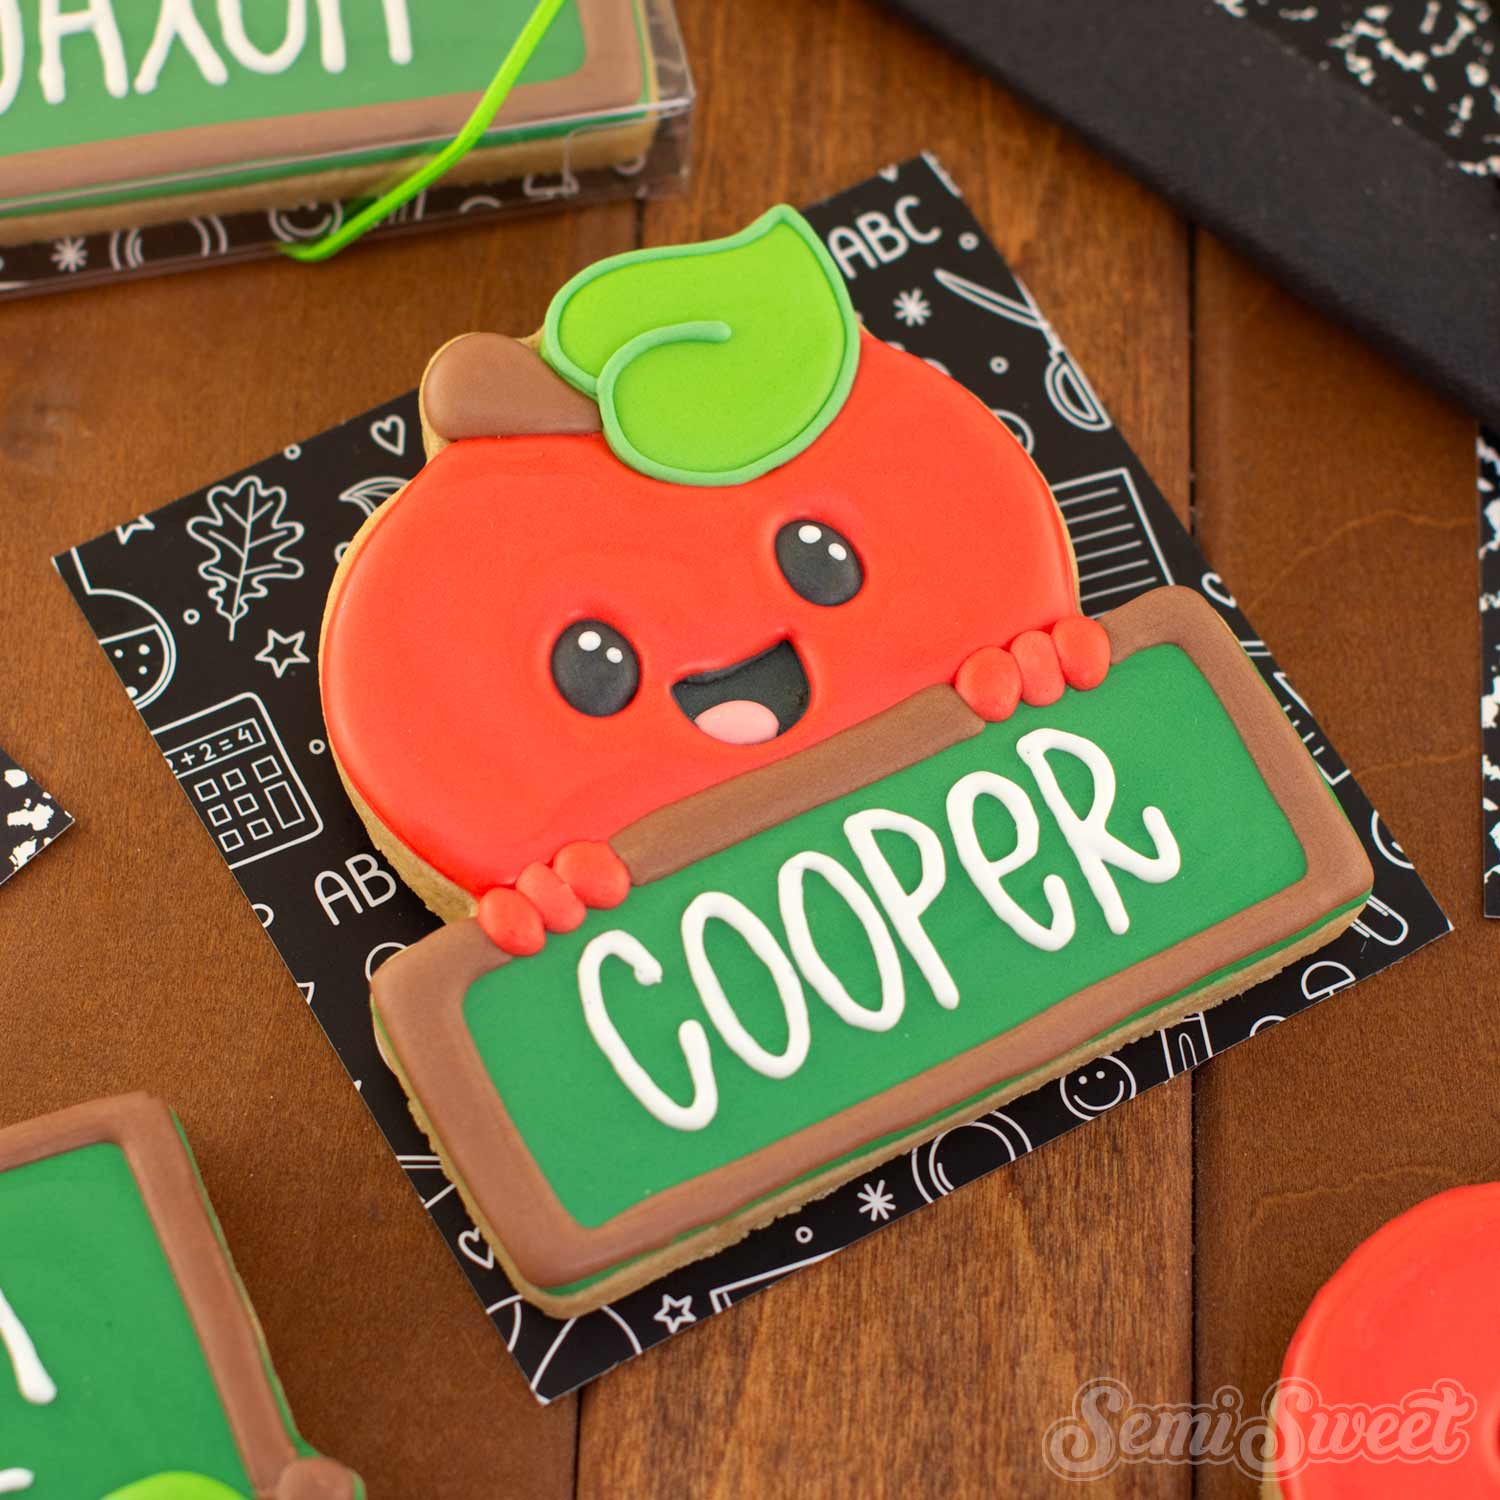
These school supply cookies were meant to be included in this 3-piece cookie gift set. The banner is an existing cookie cutter I love to reuse all the time. It's sold individually with this fall set.

This gift set can be personalize as welcome gift to teachers or for little ones going back to school.
Check out more back-to-school gift set ideas in this previous post. Stay tuned in the coming weeks as I ready more tutorials on these new back-to-school designs!

Add Vibrant Colors with Americolor Food Coloring

To make your decorated cookies pop, use Americolor Food Coloring for bold, consistent colors. It’s my go-to brand for achieving vibrant shades without altering the consistency of the royal icing.
Buy NowTags:
You may also like...


Mike Tamplin
Hi, I’m Mike, the cookie decorator behind Semi Sweet Designs! Since 2011, I’ve been sharing recipes, tips, and tutorials to help beginners gain confidence and give experts fresh inspiration. Along with my brother, Billy, we design and offer hundreds of cookie cutters, stencils, and apparel—all made with decorators in mind.
Whether you're just starting or a seasoned pro, we’re here to make cookie decorating easier and more fun!
Read more


